As promised, this newsletter would be very technical sometimes to target the technical audience. Don’t forget to subscribe for more updates. It’s 36 subscribers strong on LinkedIn. Thank you for reading!
It took me the better part of the weekend to get the Celery, Redis task queue and scheduler to work, but it’s working now! Happy to talk about some of the challenges! This assumes familiarity with AWS Elastic Container Service, message brokers, and task queues.
We have a pretty solid architecture:
- Python, Flask API
- MongoDB database
- Celery, Redis task queue
- React, Typescript frontend
- Docker on AWS ECS and Digital Ocean
What is Celery?
Celery is a task queue with focus on real-time processing, while also supporting task scheduling. It is a is a simple, flexible, and reliable distributed system to process large amounts of messages. It works with Redis, RabbitMQ, and other message brokers.
Some of the challenges I came across:
First, it took me a while to connect to Redis (Elasticache) on AWS. You have to add inbound rules to both security groups in order for the API to communicate with Redis over a specific port like 6379, but it didn’t work for me. I ended up using Redis Cloud because it is a lot simpler than AWS Elasticache. Another solution would be to run Redis on a Digital Ocean droplet or AWS EC2 instance, but I would have to expose the IP and port to the outside world.
The next challenge was how to get the Celery container to run on AWS Elastic Container Service. There are a couple ways to make it work:
- Multiple containers within the same task definition
{
  "taskDefinitionArn": task definition 1,
    containerDefinitions=[{
        'name': container 1,
        'image': docker_img 1,
        ...
    },{
        'name': container 2,
        'image': docker_img 2,
        ...
    }]
    ...
}
- Multiple task definitions
[{
  "taskDefinitionArn": task definition 1,
      containerDefinitions=[{
          'name': container 1,
          'image': docker_img 1,
          ...
      }]
},
{
  "taskDefinitionArn": task definition 2,
      containerDefinitions=[{
          'name': container 2,
          'image': docker_img 2,
          ...
      }]
}]
But this was not necessary because the Celery container doesn’t have to scale like the API. ECS also requires a health check path, but there isn’t one for the Celery container, which meant that starting a separate cluster was out of the question.
The solution was to create a multi-container deployment: a base image for the Celery task queue and a main container image for the API that builds on top of the base one. The API image simply overrides the CMD directive in the docker file.
Here is what this looks like:
- Base Celery Container –
Dockerfile.celery
FROM python:3

RUN mkdir -p /usr/src/app
WORKDIR /usr/src/app

ADD ./requirements.txt /usr/src/app/requirements.txt

RUN pip install --upgrade pip
RUN pip install --no-cache-dir -r requirements.txt

ADD . /usr/src/app
ENV FLASK_ENVIRONMENT=stg
CMD celery -A apis.deploy.tasks.tasks worker -l info;
- Flask API Container builds on the base image –
Dockerfile.staging
FROM registry.gitlab.com/oatfin/automata:celery
CMD ["sh", "-c", "gunicorn manage:app -w 5 -b 0.0.0.0:5000"]
I installed docker on a Digital Ocean droplet and ran the Celery containers on it, one setup for staging and another for production. It works as long as Celery can connect to Redis. In fact, I ran the Celery container locally and it worked. That’s how I figured it out. We could spin up an EC2 instance and run docker on it, but it was cheaper to go with a Digital Ocean droplet.
Building and running the containers is very trivial from there on. First login to a Digital Ocean droplet with docker installed then:
Login the docker registry. I’m using Gitlab’s docker registry.
docker login -u USERNAME -p PASSWORD registry.gitlab.com
Build the docker image
docker build -f Dockerfile.celery \
--cache-from \
registry.gitlab.com/oatfin/automata:celery \
 -t registry.gitlab.com/oatfin/automata:celery .
Push the docker image
docker push registry.gitlab.com/oatfin/automata:celery
Finally run the container on the Digital Ocean droplet.
docker run registry.gitlab.com/oatfin/automata:celery
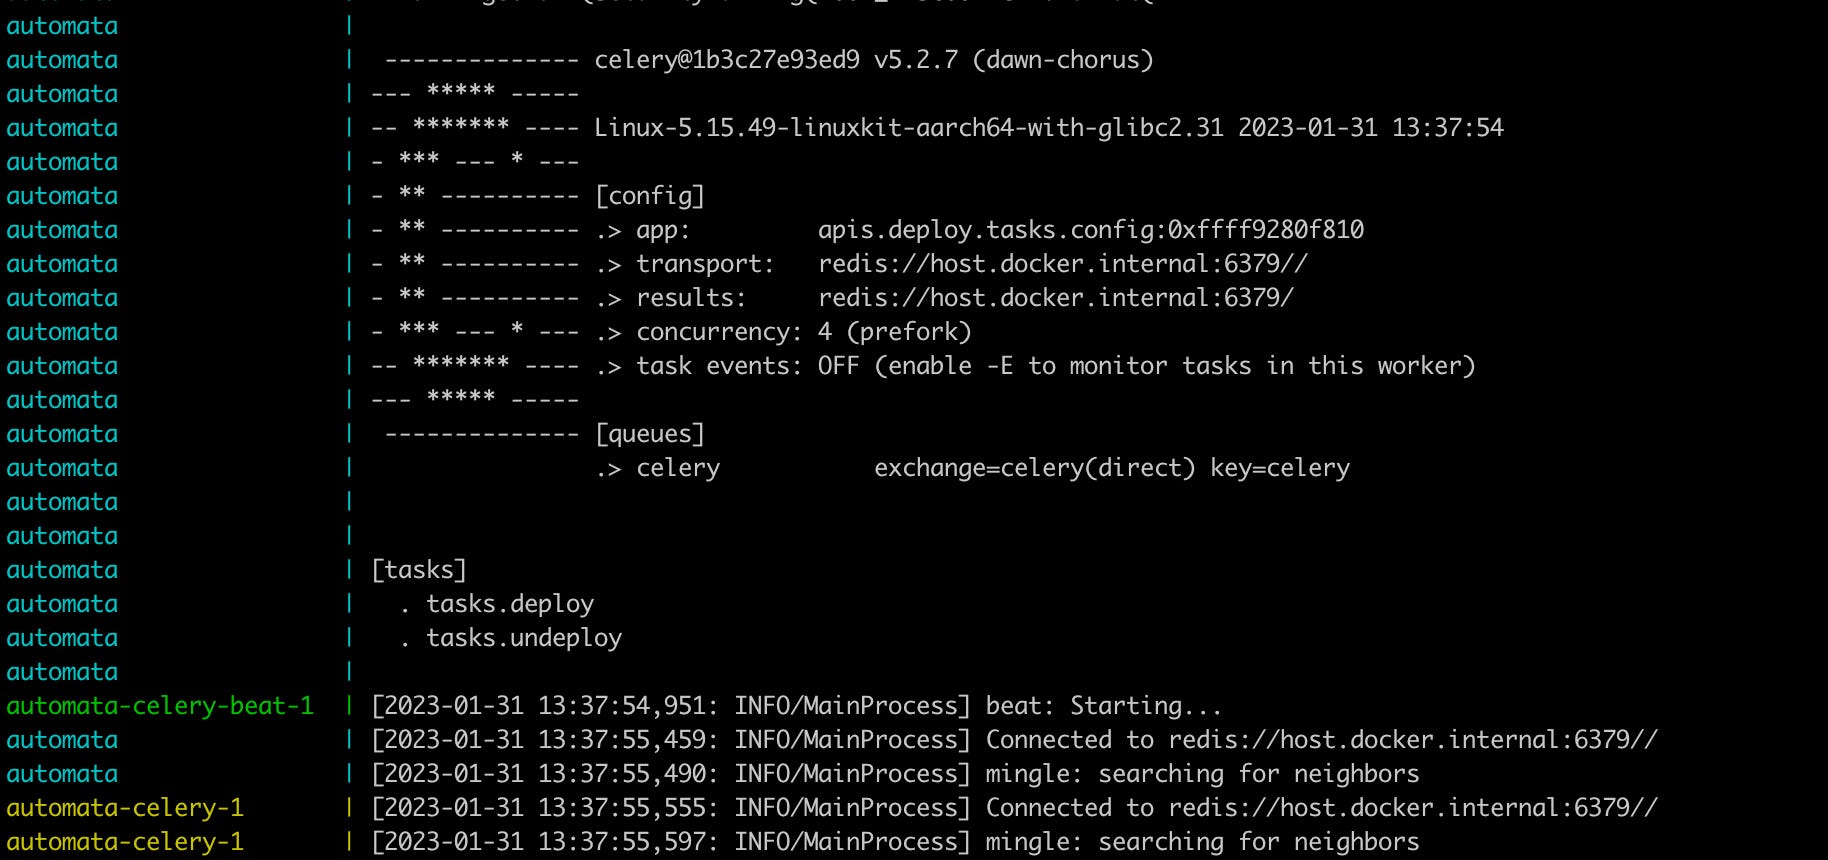
Once everything works correctly, then we get some nice logs showing that celery is running. Here I’m using host.docker.internal to connect to my local Redis. I didn’t want to show the Redis Cloud link because anyone with the Redis link can intercept your messages.
Thanks for reading!
Jay